DiY: sew a short garden apron
 You get dirty in the garden. That's the beauty of it. You get to dig in the soil, get your hands dirty, and really feel the plants. But to save your pants, we have a new DIY project for you: Sew yourself a chic gardening apron. Sure, you could theoretically buy one, but it's much, much nicer if you sew the apron yourself. You probably even have a piece of fabric at home that you particularly like, but aren't sure what to do with it. Now you know! We'll show you how to cleverly and effortlessly make a gardening apron out of it.
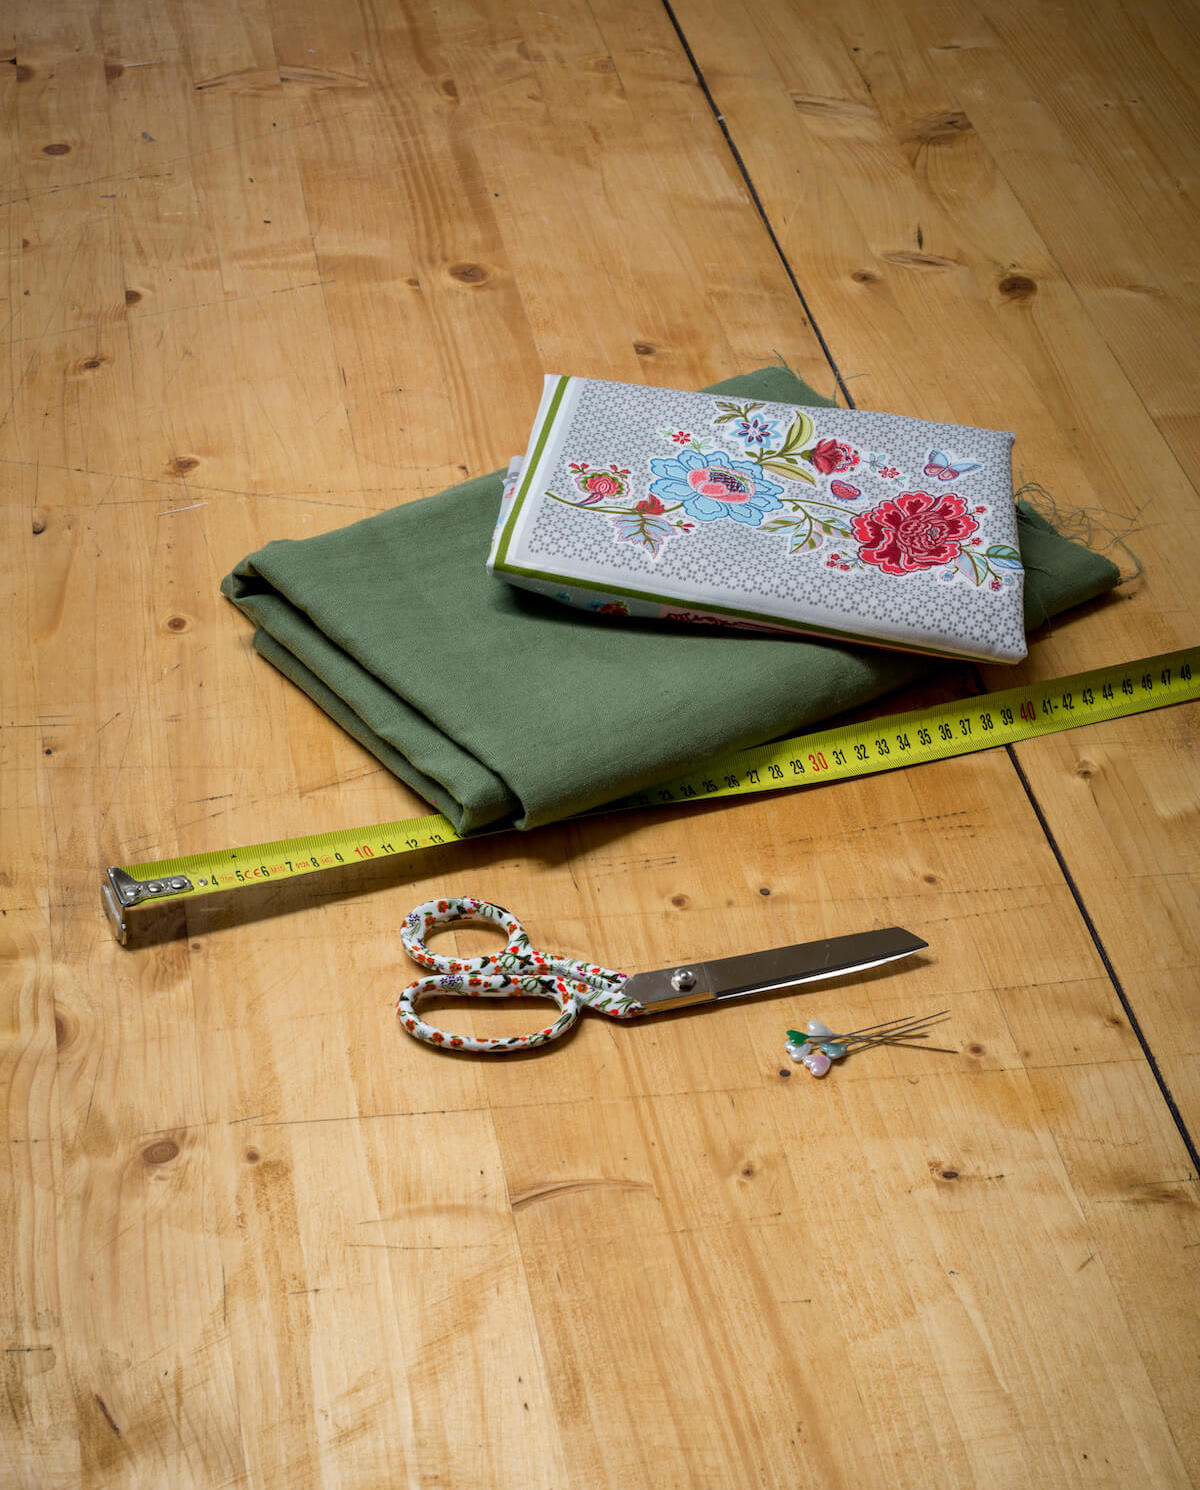
This is what you need:
- A patterned fabric remnant for the appliqué
- Vliesofix
- A 115 x 35 cm fabric strip for the patch pocket
- Two fabric strips of 100 x 6 cm for the ribbons
- A 115 x 55 cm strip of fabric depending on your height
- Eyelet set
Your tool:
- Scissors
- iron
- sewing machine
And this is how it works:
Step 1: Prepare applications 
Iron Vliesofix onto your patterned fabric and then cut out your desired appliqué. Then, iron the appliqué onto the outside of the pocket fabric strip. Secure the appliqué with a straight or zigzag stitch.
Step 2: Prepare the bag


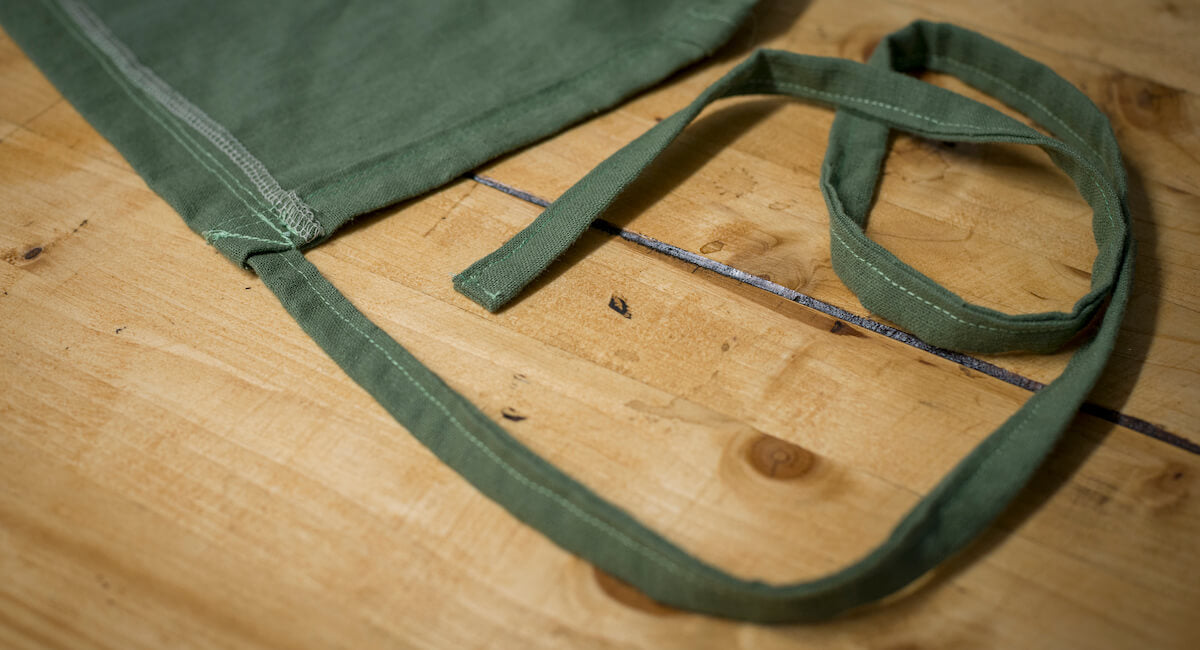
Step 3: Prepare the straps
 Next, it's time to prepare the ribbons. To do this, fold the fabric inward one centimeter along the short sides and iron them. Then fold each ribbon in half lengthwise and iron the crease there as well. Now unfold everything and fold the long sides of the ribbons toward the long, centered ironed edge. Then fold the sides together, iron, and sew the ribbon together.
Step 4: Sew, sew, sew
Now place the pocket piece on top of the main piece and secure it with pins. Then fold the short sides of the apron over 1.5 cm, iron the fold, and topstitch. Fold the bottom hem over 2.5 cm, iron the edge here as well, and then sew with a straight stitch. Next, fold the top edge of the apron over 2.5 cm, insert the ribbons, iron, and sew with a straight stitch. Sew across the ribbons once more.
Step 5: Divide the bag
Now you've come quite a long way. As you can see, the pocket is in the right place on the front – but it's huge. You can divide it into as many individual, vertical pockets as you like. Three or four are usually enough, though, as otherwise they'll be too narrow again. First, pin the compartments; you'll sew them later.
 A quick tip: Now place the eyelet anywhere on the outside of the bag and insert it into the fabric. Why? This way, you can keep a ball of garden twine or gardening string in the bag later while gardening and pull the thread through the eyelet whenever needed.
Step 6: Hammer in the eyelet
So, mark the spot and then grab the eyelet set. It always comes with a short guide on exactly how to punch the eyelet in. Once you've done that, finally sew the vertical seams that divide the large pocket into several smaller ones – and you can get back to gardening with your new, awesome apron!
Is DIY your world?
There are many good reasons to make things yourself. It saves resources, sometimes even money, it's fun, and you learn a lot. What's more, there's a special magic in the things you've created with your own hands and passion. It's a wonderful feeling you can't buy in any store and for any amount of money.