DIY: Plant bag for the balcony

50x16.5x16 cm, black, weighing about 900 grams. This is it, the classic balcony box, the kind you probably find dangling from 90% of balconies. Naturally, you might ask, "Could this be done in a nicer way?" Of course, it is! All you need is some nice outdoor fabric, a sewing machine, and an hour of time. Ready?
This is what you need:
- Outdoor fabric (30x140 cm)
- Oilcloth or coated cotton fabric (30 cm wide)
- lace or ribbon, 120 cm
The required tools:
- Scissors
- Sewing machine / overlock machine
- iron
 This is what you need for your plant bag
And this is how it works:
Step 1: Cutting
You start by cutting. To do this, fold the outdoor fabric in half and cut it along the fold, creating two pieces measuring 30 x 70 cm each. Cut the oilcloth in half once, creating two pieces measuring 30 x 70 cm each. This will now easily make a pretty and practical balcony bag.
A quick tip: The fabric dimensions aren't set in stone, of course; you can actually use almost any length you like. However, with the standard 1.40-meter length of fabric, you'll generally only need exactly half the width of the fabric, so it's a good idea to sew two bags at once.
Step 2: Sewing begins
 Now place one piece of the outdoor fabric and one piece of the oilcloth right sides together. Using an overlock machine, sew the two fabrics together along their long sides. If you don't have an overlock machine, a simple straight stitch will do. Next, turn the sewing piece right side out and place it in front of you with the outdoor fabric facing up.
Step 3: The finishing touches
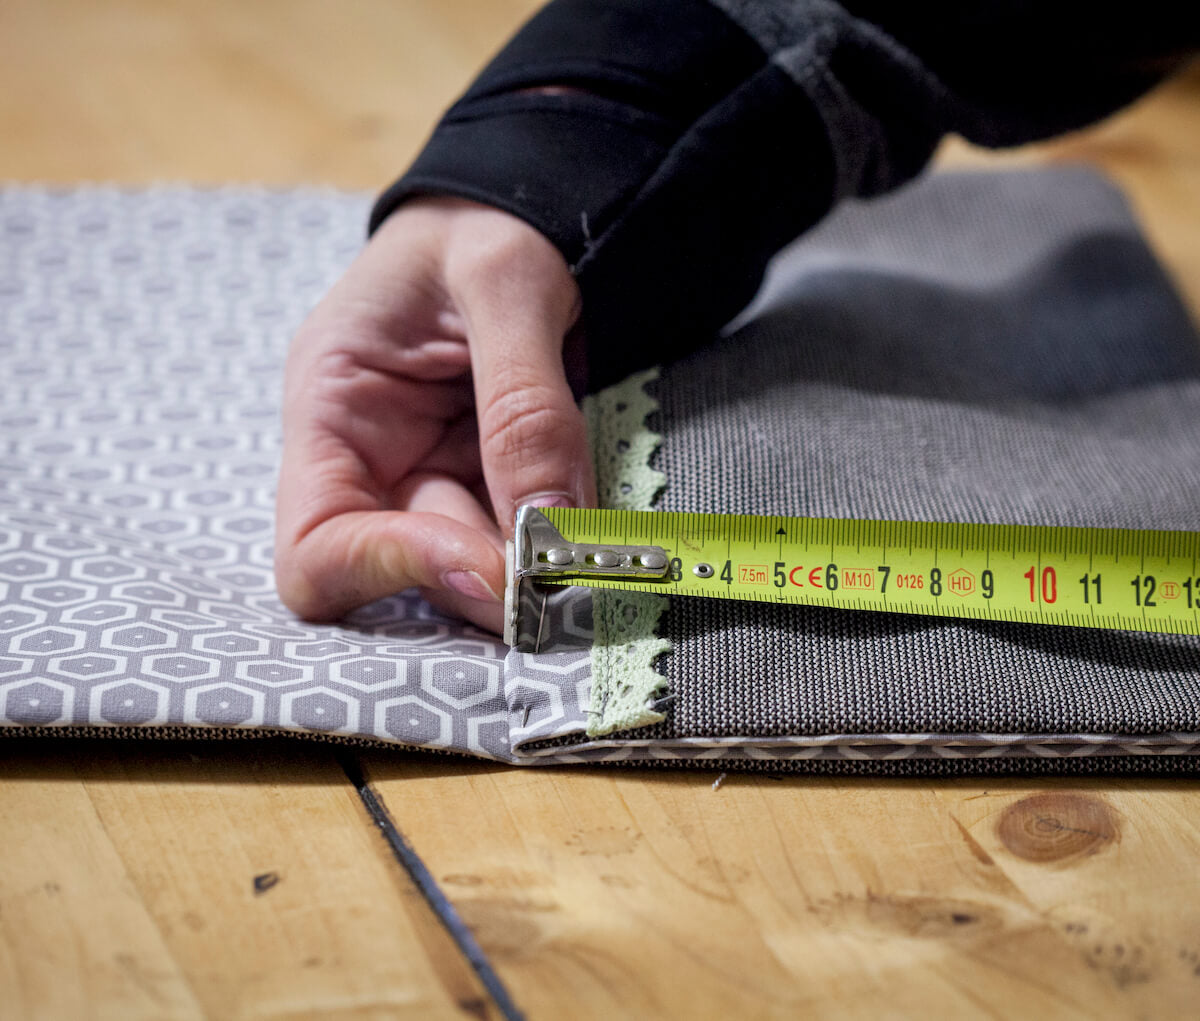
Now fold the open edges of the short sides 2.5 centimeters each toward the outdoor fabric side (Image 3A), pin a lace or ribbon in the desired location, and topstitch everything with a straight stitch. Then fold the short sides, oilcloth to oilcloth, about 16 centimeters each toward the center (Image 3B).  Step 3A
  Step 3B

Step 4: The grand finale
Finally, all you have to do is sew the folded sides shut and then you can fill it with soil. And while you've been crafting, you've probably already come up with some great ideas for planting your balcony bag – right?
If not, here are a few tips:
Sage, rosemary and other kitchen herbs as well as fairy mirrors, pelargoniums, violets or strawberries look great in balcony bags.
Is DIY your world?
There are many good reasons to make things yourself. It saves resources, sometimes even money, it's fun, and you learn a lot. What's more, there's a special magic in the things you've created with your own hands and passion. It's a wonderful feeling you can't buy in any store and for any amount of money.You can find more ideas for great DIY projects in our book "Your Creative Garden." Thanks to step-by-step instructions and helpful pictures, many of our DIY ideas can be recreated with children. The internet also has a lot to offer. So if you want to get active, the following websites are a good place to start:


