
Buy handmade seed bombs | The original from Die Stadtgärtner
Buy seed bombs
Seedbombs - A little ball of nature
Whether in the city or in the countryside - you don't need a green thumb for our seed bombs, just a good throwing arm: they germinate quickly and even in adverse conditions.
- Choose the place to be flowered
- Put on a subversive face
- Throw, roll or place directly
- Wait for rain, perform a rain dance or help with the watering can
- Step: Enjoy the results every day













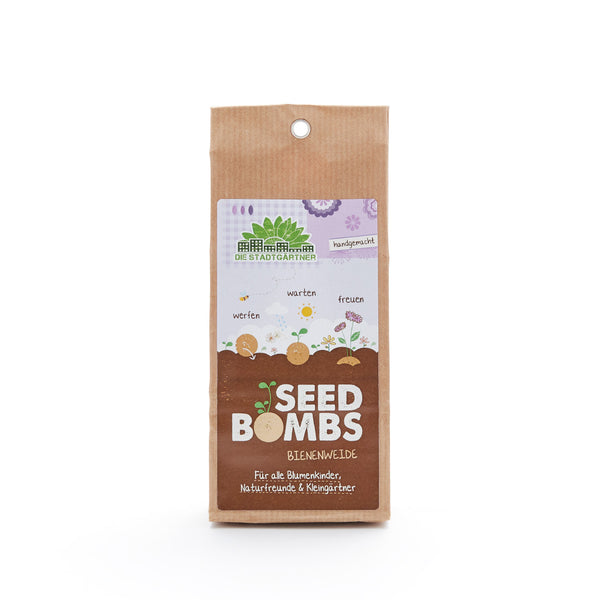

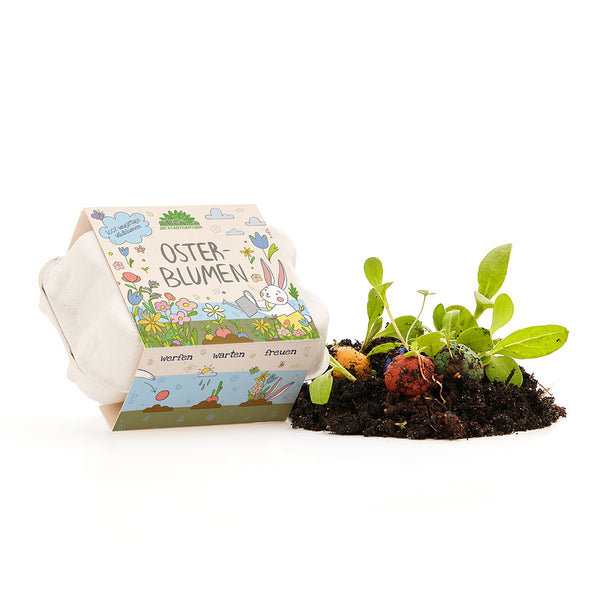

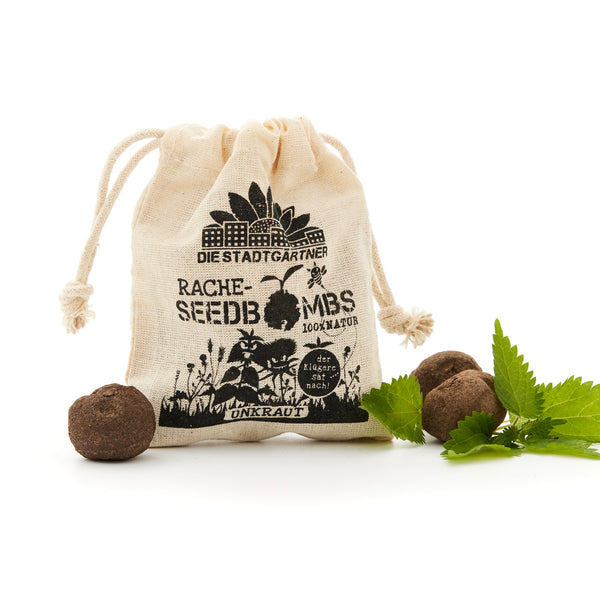

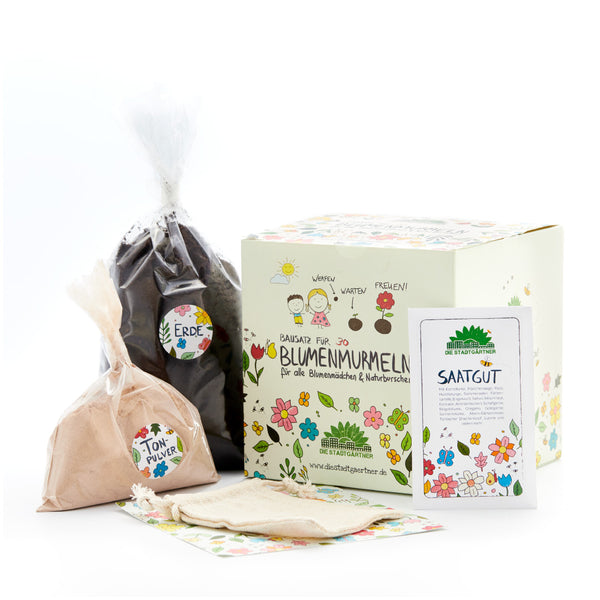

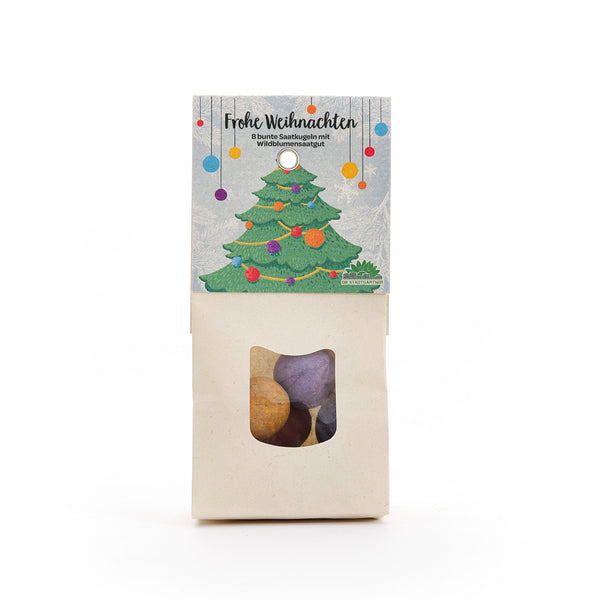

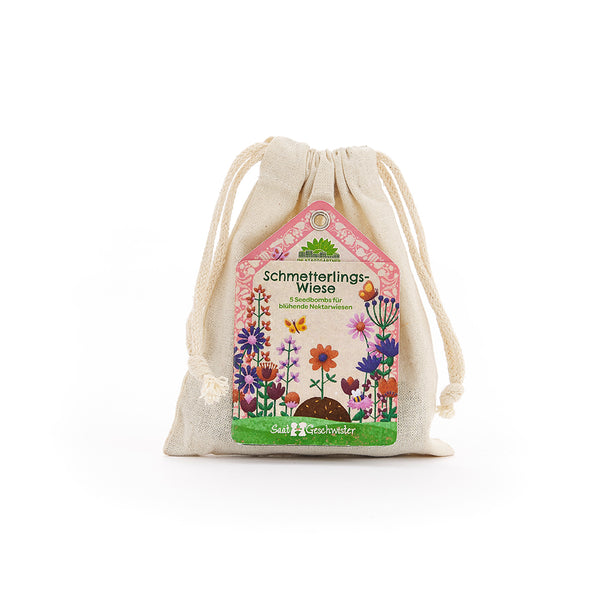

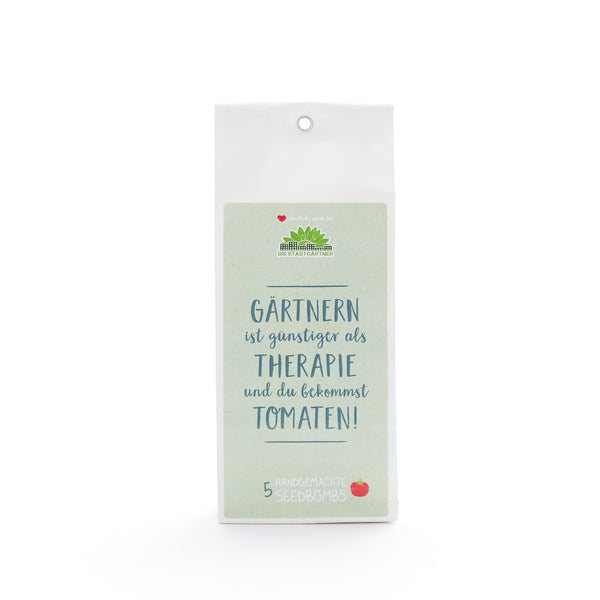

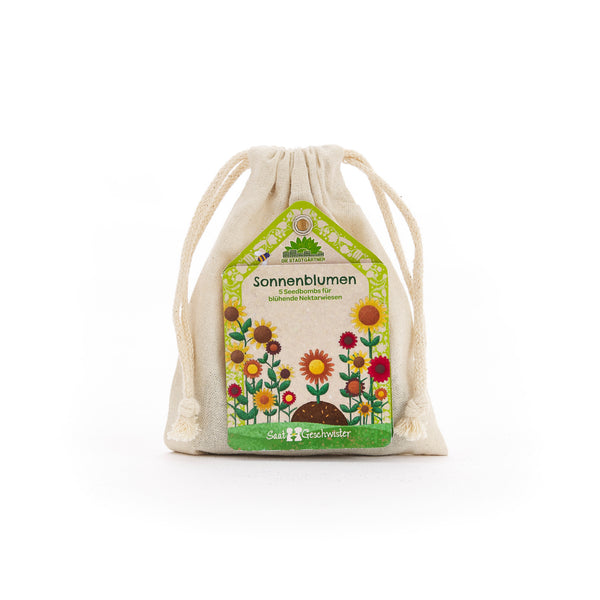

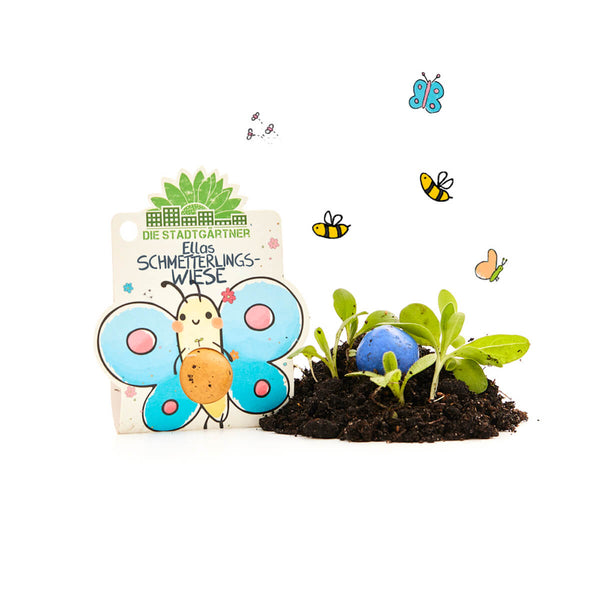

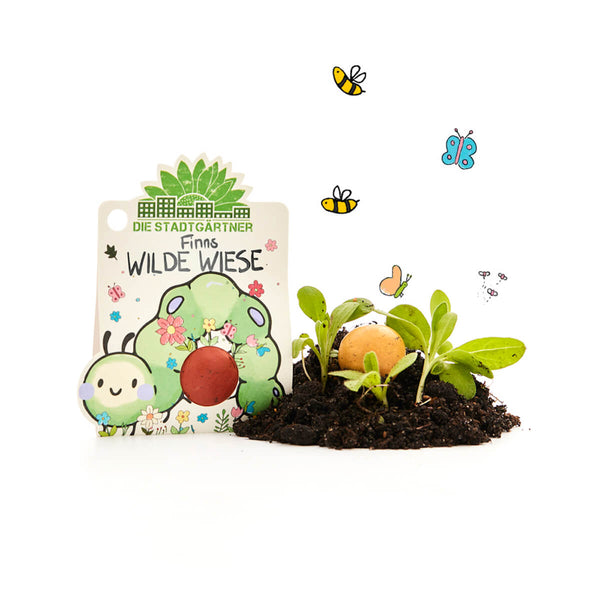

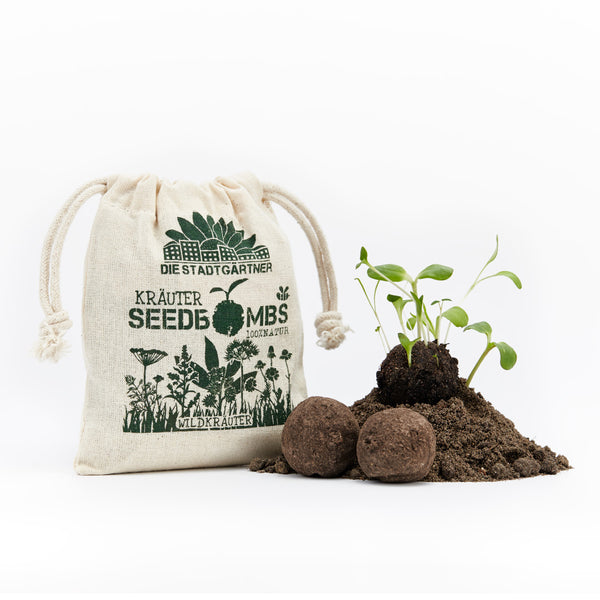

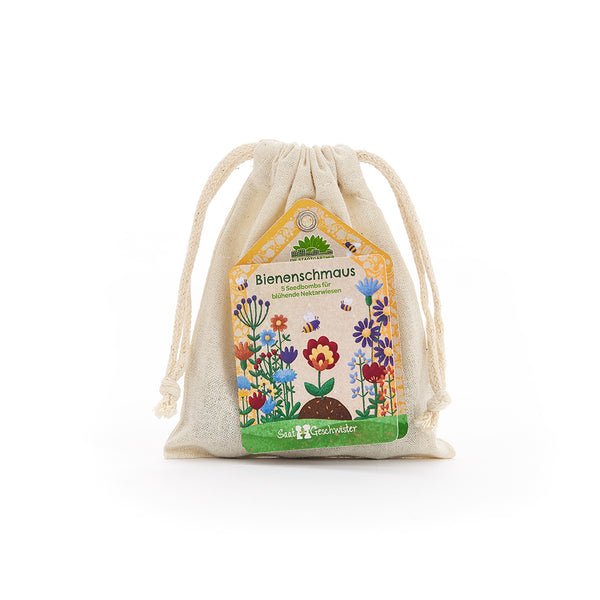

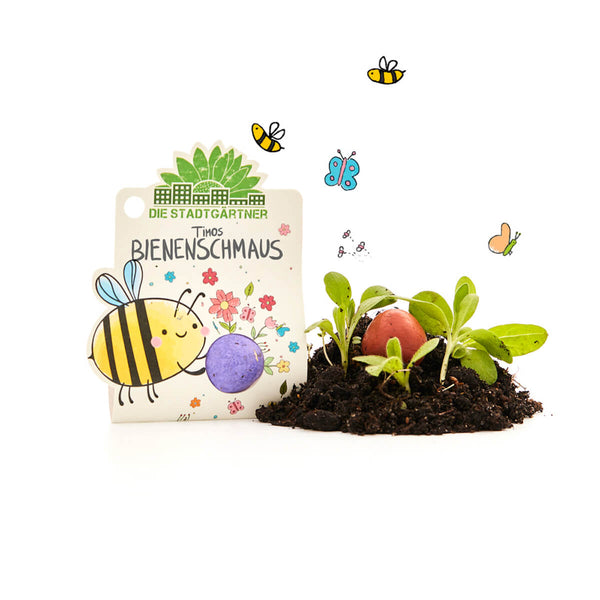

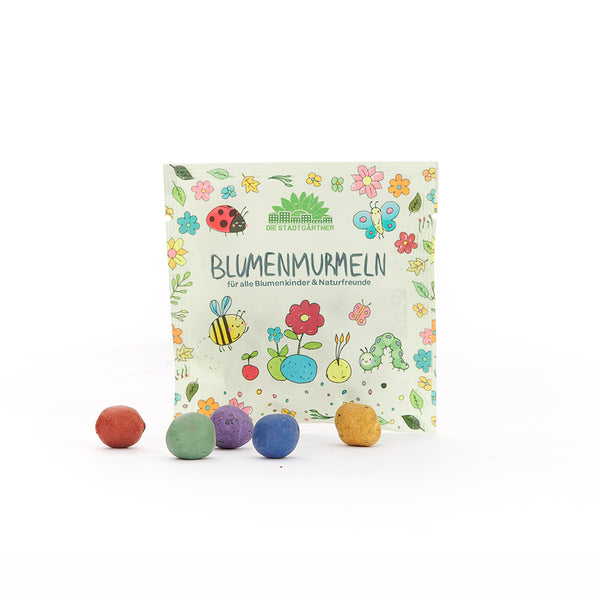

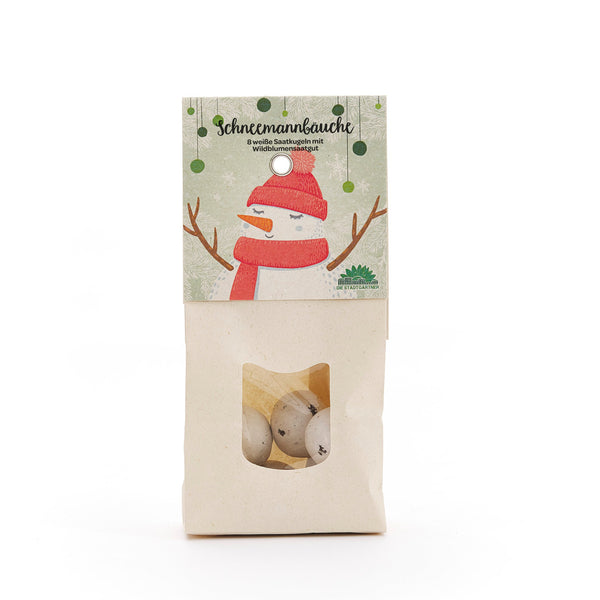

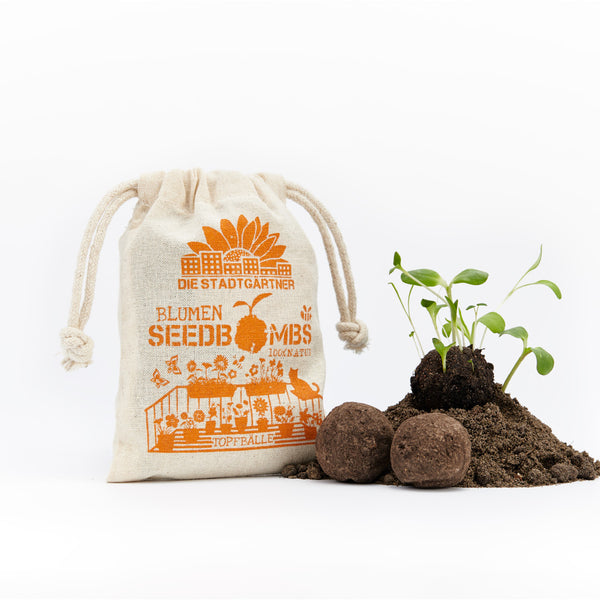

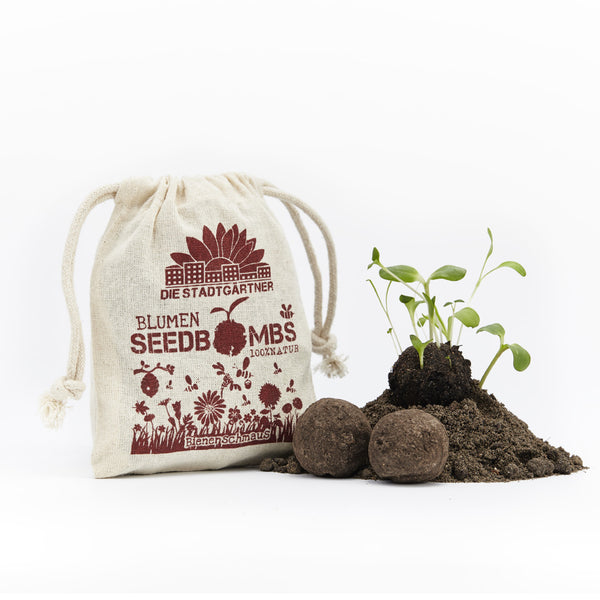


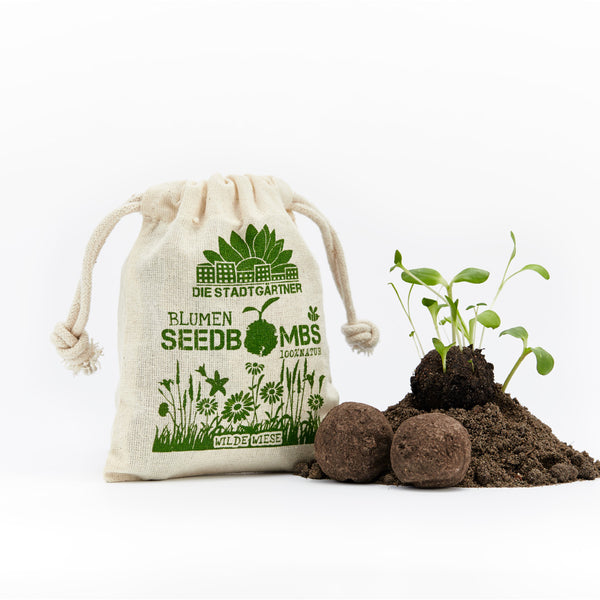

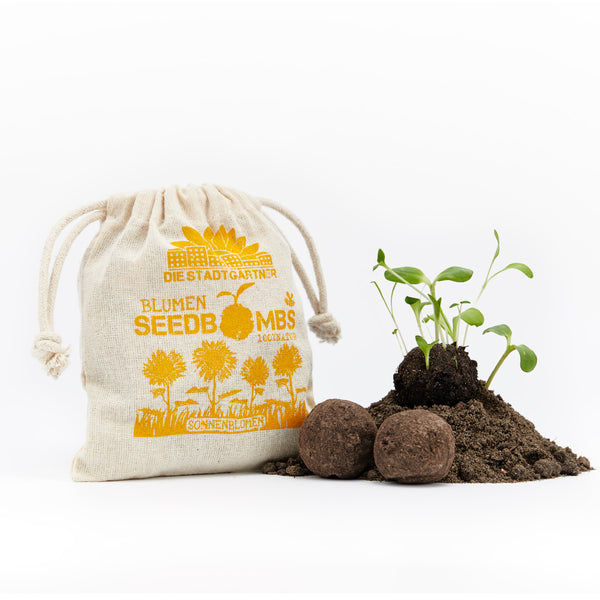

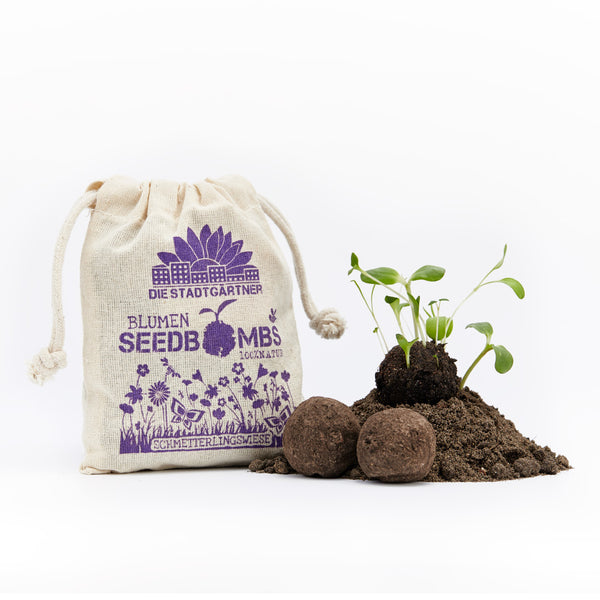

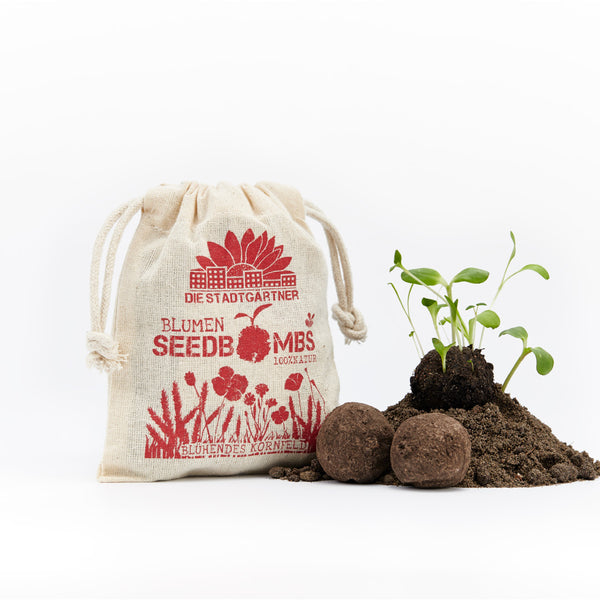

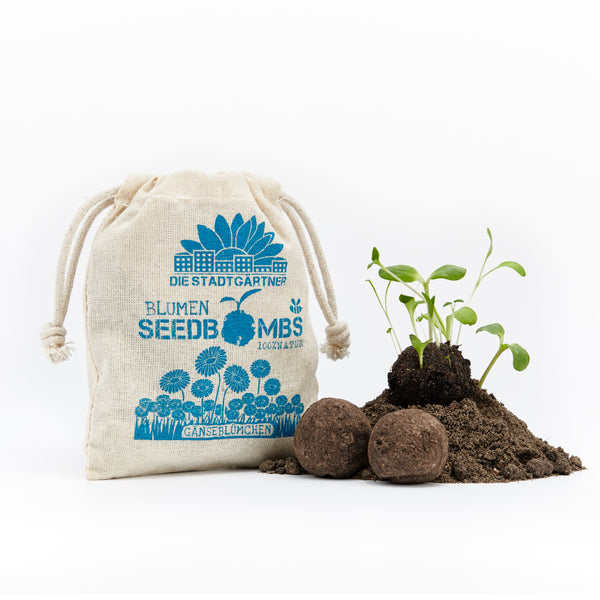
Here you will find helpful information about our seed bombs, seed bombs, seedbombs, and seed balls
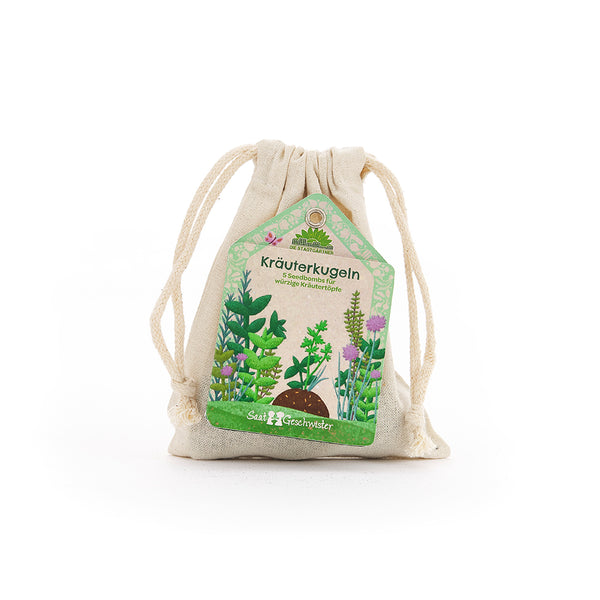
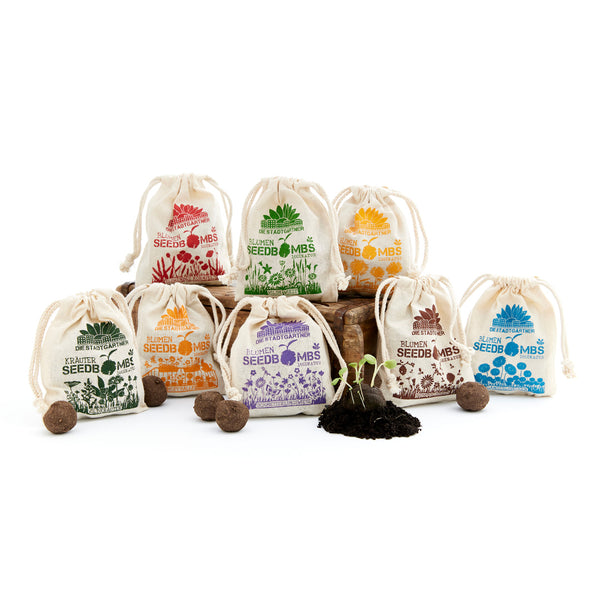
Our handmade seed bombs from Germany come in eight different varieties, from wildflowers to delicious herbs and vegetables.
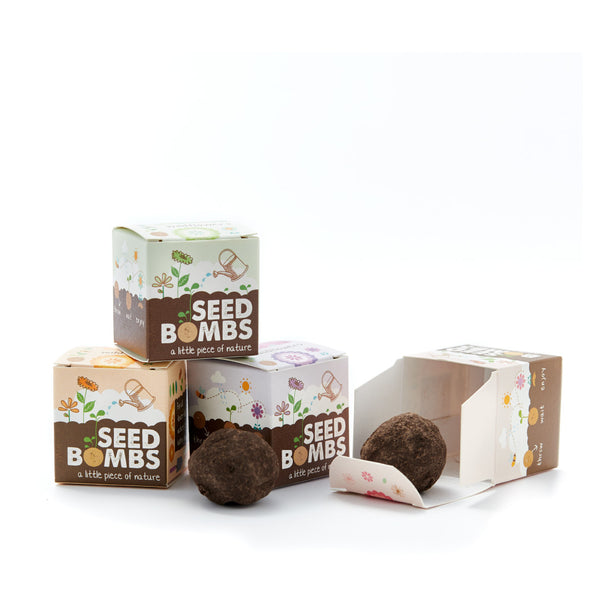
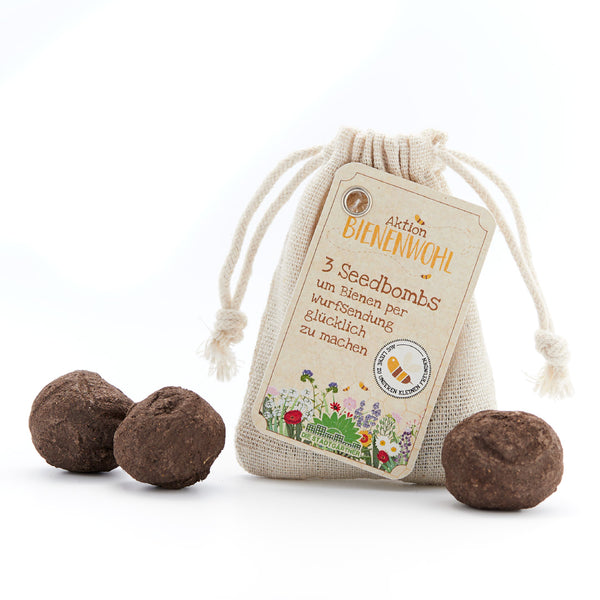
Packaged in a small jute bag (always 8 per bag) and about the size of a walnut, the seed bombs also make a great gift. They consist exclusively of native seeds, clay, and soil. Depending on the weather, the ideal time to throw them is between April and August. In a dry, dark place, the seed bombs can easily be stored for up to two years.
How are the seed bombs produced?
Each individual seed bomb is lovingly made by hand. We roll most of the seed bombs ourselves. We also receive support from the local Lebenshilfe and Meppen Prison. The first step is always to carefully sift the soil so that the seed bombs remain free of small twigs or stones. The soil is then mixed with clay powder, seeds, and water in a large mixer, which eventually produces a moist, sticky mass. We divide this into equal portions, which we then roll into balls about 2.5 cm in size - our seed bombs. Once dry, the seed bombs are rock-hard and ready for use for at least 2 years!
Seed bombs - What are they?
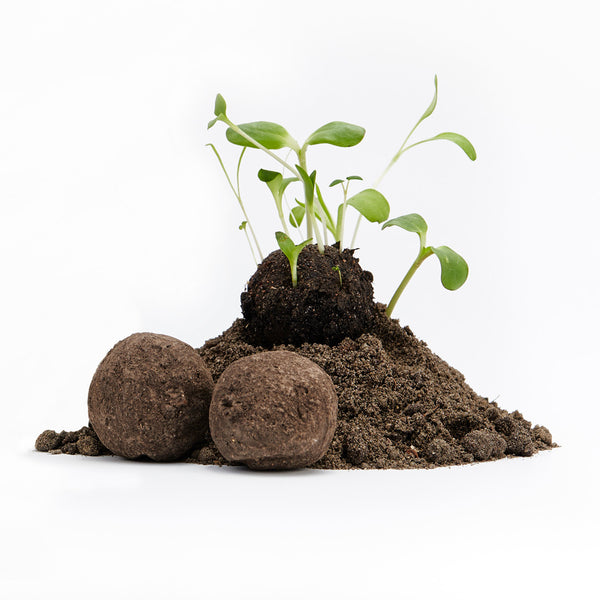
Seed bombs are small balls (or clumps) made of soil, clay, and seeds. Since the seeds are well embedded in the rock-hard mix of soil and clay, they do not need to be planted. Instead, you can simply throw, roll, place, or launch the entire seed ball to its destination using a slingshot. The next rain softens the ball and activates the seeds, which then begin to germinate.
When is the best time to throw the seed bombs?
The best time to throw seed bombs is in spring. You should definitely wait until nighttime temperatures no longer drop below freezing, as the cold can impair the seeds' ability to germinate. A good time is always after the Ice Saints in May. After that, not much can go wrong weather-wise. If it is very dry after sowing your seed bombs and it does not rain, try to water the seed bombs regularly whenever possible.
Storing seed bombs: Here's how!
We have three words for you: Dry, dark, cool. Our seed bombs last for at least two years - only after that does the germination capacity of the seeds gradually decline. If you follow the points mentioned above, you can extend the shelf life of your seed bombs. But honestly: The seed bombs are actually far too beautiful not to throw them and enjoy the colorful flowers, right?
Advantages of seed balls
The great advantage of seed bombs is how incredibly easy they are to use. Since the seed bombs are simply thrown onto the soil, you don't need any gardening equipment or gloves. You don't even have to bend down - a win-win for nature and your back. It's no coincidence that our slogan for seed bombs is: Throw, wait, enjoy. Sometimes life can be so simple! Nice, right?
But seed bombs have another advantage: Their clay-and-soil coating keeps them well protected and, unlike loose seeds, prevents them from simply being eaten by birds or carried away by the wind. In addition, the clay-soil mixture provides them with all the nutrients they need to get started.
Giving seed bombs as gifts: Seed bombs as a gift idea
Are you looking for a creative gift for someone who already has everything? Then how about some of our seed bombs? Whether for a wedding, a birthday, as a gift for passing an exam, or as a little token of appreciation in between - seed bombs are an extraordinary gift idea. And a beautiful one at that! We put a lot of love and attention to detail into the packaging design, so our seed bombs are sure to bring a big smile to the recipient's face!
And who invented them? The history of seed bombs
Spoiler: In this case, it wasn't the Swiss. ;) There are different opinions about how, when, and where the concept of seed bombs was invented. Some people believe that the idea originated with the ancient Egyptians, who used seed bombs to quickly cultivate the fertile farmland left behind by the annual flooding of the Nile.
But the name of Japanese rice farmer Masanobu Fukuoka also comes up time and again when it comes to the history of seed bombs. After the Second World War, he is said to have developed a permaculture method in which he scattered seed balls (called nendo dango) containing rice and barley across his fields. This allowed him to cultivate his fields without plowing - pretty clever! This idea is also said to have later been used in Japan to cultivate large fields.
Seed balls became truly well known in the 1970s, when more and more people began throwing them to protest concrete jungles, air pollution, and the development of urban green spaces. Seed bombs are essentially the symbol of guerrilla gardening. To this day, seed balls are used for exactly this purpose: to create colorful islands in drab city centers, beautify the neighborhood, and grow your own food. But seed bombs are not just for guerrilla gardeners: they are also ideal for planting balcony planters, quickly transforming a garden, or simply growing a few herbs in your kitchen.
Make your own seed bombs
Do you love DIY projects and would rather make your own seed bombs than buy them? Then our seed bomb kit is perfect for you! The green seed bomb kit contains everything you need to make around 50 homemade seed bombs: sifted black soil, fine clay, a bee-friendly seed mixture, detailed instructions with photos, and a great jute bag for storing your finished DIY seed bombs. Rolling your own seed bombs is not difficult and is definitely lots of fun! It is also a great idea for a children's birthday party or as a creative gift!
How to roll your own seed bombs
The last few weeks have really worn the three of us out, so we thought you might take a little work off our hands and roll your own seed bombs. Find out how here:
When choosing the seeds, all options are open to you. But please do not choose poisonous plants and use only native species! Ideal choices include poppies, marguerites, corn cockles, small sunflowers, cinquefoil, lupins, marigolds, and so on; pumpkins are fun too.
Ingredients:
- Seeds/seed stock (wildflowers / herbs / grasses / vegetables) (1 part)
- Good potting soil (peat-free, to protect the peatlands! It is best to dry the soil beforehand and then sift it) (5 parts)
- Clay (available from building materials suppliers; brown, red, or ochre-colored clay is best) (3 parts)
- Water (1 part)
- A container and/or a surface for mixing the ingredients and drying the seed bombs
This is how the individual components become small seed bombs:

- Add the clay powder and mix again.
- Gradually add water until a thick mixture forms that can be shaped easily. If the dough is too watery, simply add more dry ingredients afterward until it has the right consistency. The dough should now be processed fairly quickly, as it hardens fast.
- Now the actual 'rolling' of the seed bombs begins. Depending on the desired size (no larger than a walnut, otherwise the seeds will germinate before the seed ball has dried completely), break off the appropriate amount of dough and roll it back and forth between your palms without applying too much pressure until a smooth, round ball forms.
- Then place the balls somewhere to dry, for example on an old newspaper, and let them dry for 1 - 2 days. Then store them in a cool, ventilated place, preferably in a jute bag. :)

We hope you have lots of fun getting messy, kneading, and rolling! If you have any questions, send us an email or give us a call... of course, we'd also be delighted if you shared your experiences with us. Simply use the review function in the next tab or send us a few pictures of the green results. We'll publish the best ones here!
Colorful seed bombs for children
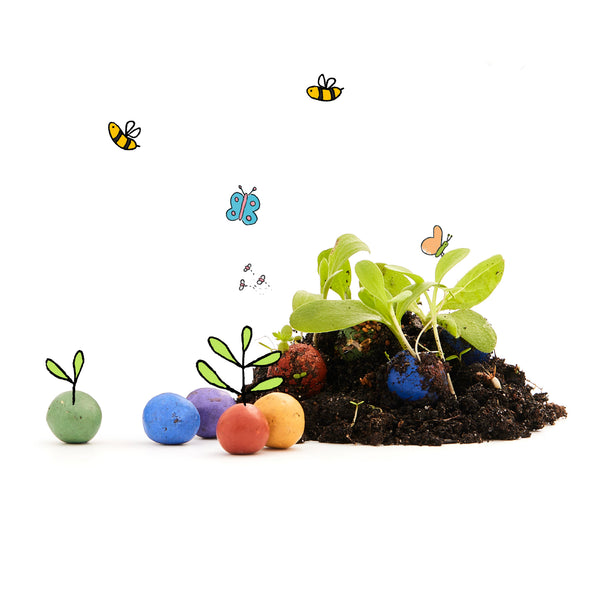
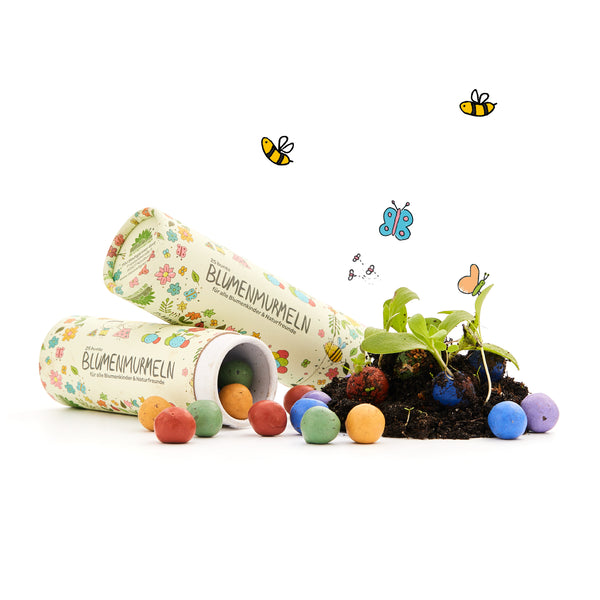
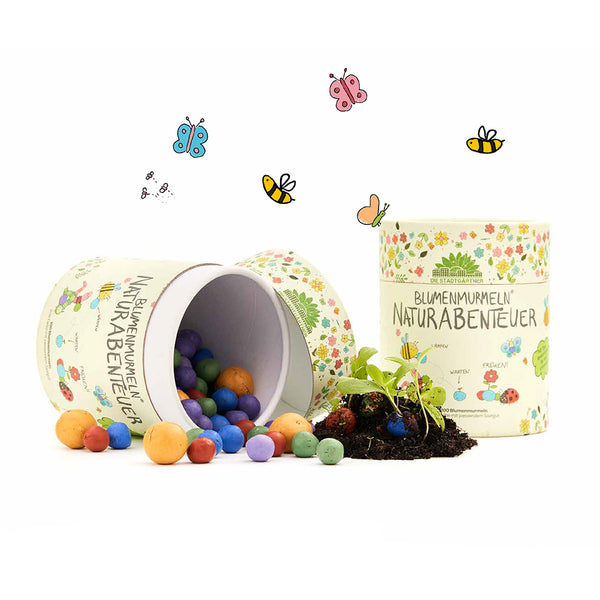
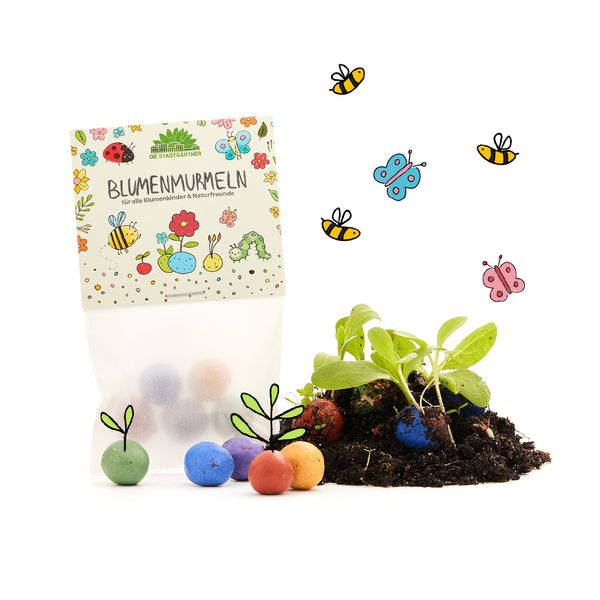
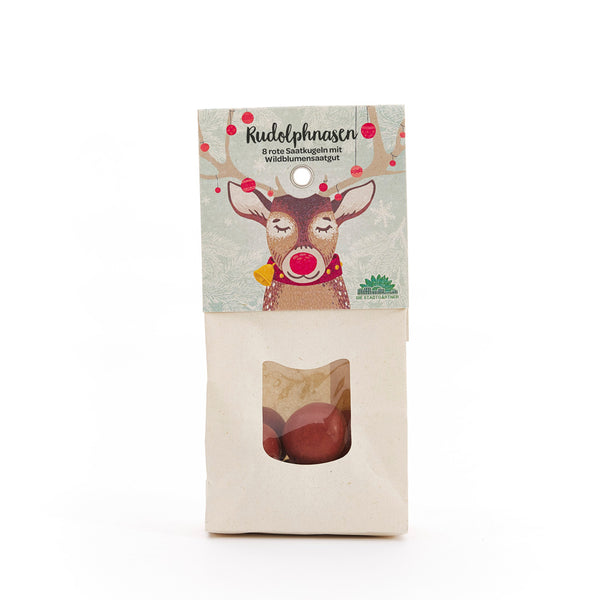
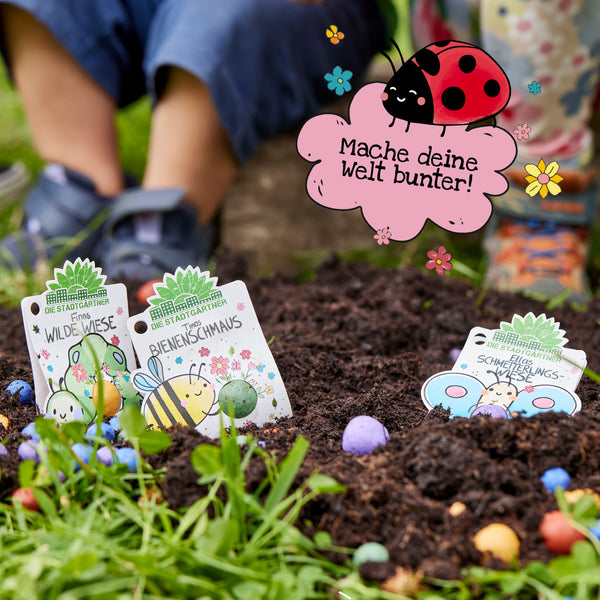
Seed bombs are a great way to introduce children to a love of nature and gardening in a fun, playful way. Even the littlest ones can help bring our natural world into bloom! And to make throwing even more fun, we offer our small, colorful flower marbles especially for children. Red, green, yellow, and blue are the colors of these seed bombs for children - and they are colored with natural dyes. Beautiful, colorful flowers grow from the multicolored seed bombs, and the little ones will be especially proud of them!
Do you love getting messy and being creative with your children, grandchildren, nieces, nephews, godchildren, etc.? Then simply make your own little seed bombs for children! Our flower marble kit contains everything you need to make approx. 30 seed balls: seeds, nutrient-rich garden soil, clay or loam powder, and detailed step-by-step instructions. So: to the mud kitchen, get set, go!

Since 2011, we've been rolling seed bombs. Over the years, we've tried many mixtures of soil, clay, and water, as well as different seed combinations, and have continually optimized our seed balls. And yet, we sometimes receive the feedback: Nothing grows at all! We always ask our customers to send us photos of the sowing so that we can see what might be causing the problem. And indeed, we often notice the same issues:
The most common problems when planting seed bombs
- The flower marbles are thrown, but not watered sufficiently. Especially at the beginning, the marbles need to soak once and then be kept moist. Ideally, you should throw the flower marbles when rain is forecast for 2-3 days, or you need to water them sufficiently. When it is very hot, it also helps to soak the flower marbles in a glass of water for about 10 minutes before sowing, as a kind of kick-start.
- A similar problem arises from the location. The marbles should not be left in the blazing sun, as they will otherwise dry out very quickly, become hard again, and be unable to germinate. A partially shaded location is ideal.
- The flower marbles land on hard, compacted soil (e.g. a tree pit in the city). Dense lawns are also a common problem here. If there is enough rain, the flower marbles do start to germinate, but they quickly wither again because they cannot take root or draw nutrients from the soil. Ideal is loose, humus-rich soil
- The seed bombs are buried. Passionate gardeners in particular make this mistake because ordinary seeds are, after all, also covered with soil. But the seeds in the balls have already been planted, so they get too little sunlight when the seed bomb is buried. The marbles should therefore not be buried, but pressed into the soil no more than halfway.
- The marbles are simply no longer there. Sounds silly, but it happens often because they are carried away or eaten by animals. Here, too, it helps to press the seed bombs about halfway into the soil. This also allows them to draw moisture from the surrounding soil more effectively.

Where nothing else grows, the balls also have a hard time. The chances of success are low

Don't let the seed bombs dry out

Don't throw the marbles onto lawns, into meadows, or onto ground that is already covered with plants
This is how to get EVERYTHING right
Throw, wait, enjoy - this is the slogan we often use to promote our flower marbles. And it works too, when nature plays along. If you want to minimize nature's influence as much as possible, then we recommend the following approach:
- Soak the seed bombs or flower marbles in a glass of water for about 10 minutes
- Choose a location that is not in direct sunlight all day and press the seed balls about halfway into the loose soil there
- Keep the seed bombs moist so that they do not harden again

Use good garden soil

Provide shade until germination

Keep the soil and balls consistently moist
By the way, the marbles should not be exposed to frost, so the ideal time to throw them is mid-May (after the Ice Saints).
So, enough of the dry theory. Grab your flower marbles or seed bombs and bring more green to the gray!
Annual or perennial... that is the question!
For our seed bombs, we use seed mixes, most of which are annual, although some also contain a proportion of perennial varieties. What does that mean? With annual seed mixes, it means that you can admire the wildflower meadow in all its glory in the first year after sowing, instead of having to wait until next year or even the year after.
Germination begins about 14 days after scattering. After a total of 6 to 8 weeks, your colorful wildflowers will be in full bloom, depending on the season and weather conditions. Shortly before the end of flowering, the wildflowers will reseed themselves, so with a little luck you can look forward to the next generation the following year. The occasional perennial varieties need between one and two years to get established before they bloom. You can find out which mixes contain annual or perennial species under the respective seed bomb variety.
What our customers say
I ordered two sets at the end of July and gave one of them as a gift, which was very well received. The packaging is beautiful, as is the variety of *bombs*. This year, I haven't yet dared to simply throw seed bombs into the landscape because of the drought. But something is already growing in the flower box; I don't know whether the little plants will grow much bigger, since it's already late in the year. Bombs have also sprouted in my friend's garden. Next spring, we'll really get started.

The Kluntjes were delivered quickly and distributed in the garden when the weather was right. Less than a week later, they’re sprouting, and we’re looking forward to seeing what grows and makes our garden even more colorful and the bees, bumblebees, and butterflies happy!

The seed bombs were very, very well received as a gift! I’m really looking forward to beautifying the city guerrilla-style. Greetings from Leipzig

I received a package for Mother’s Day and am already looking forward to the colorful splendor of "wild" flowers...
You need a little patience before anything happens. After that, you can almost watch the plants grow. The flowers look fantastic and the bees love them. I’d gladly order again!!!
The seed bombs were sent to my home very quickly and arrived safely in their lovingly designed packaging. Everything went so smoothly that I immediately placed a second order! Keep it up...

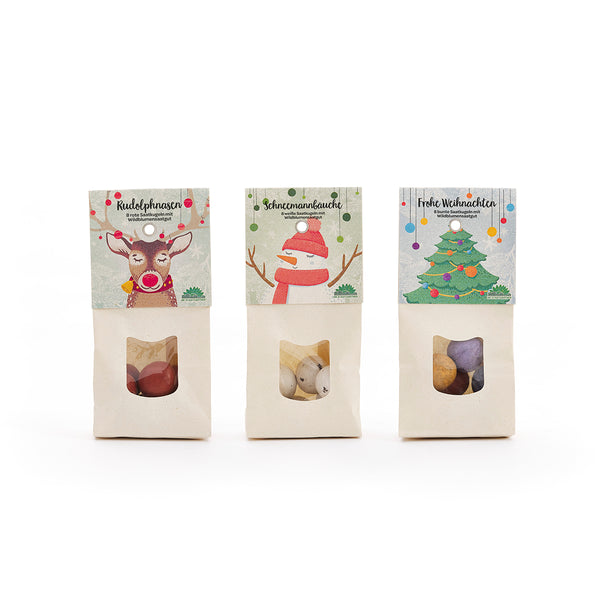
I ordered the seed bombs as Christmas gifts for friends and family. They were delivered quickly and lovingly packaged. Thank you for that. The instructions are great too. Witty writing and beautifully designed. I attached them to the packages with ribbon, and with a few stickers of stars, they became the perfect, original Secret Santa gift.
We’ll see in spring whether it will soon become more colorful and greener here.

I discovered the seed bombs by chance in a cute little shop in Osnabrück and am thrilled. Beautiful wildflowers have grown in my garden, and wonderful herbs in the flower box!
Joy! Three small, pretty boxes of seed bombs to give away or throw somewhere right away :-) I was absolutely delighted with the delivery and am excited!
P.S. "Awesome" is missing from the rating scale
Fantastic set! Everything is included, neatly packaged and clearly labeled, with detailed instructions that are beautifully and appealingly designed. It was a pleasure to make the seed balls and give them as gifts!
Seedballs in time-lapse
Behind the scenes


We are sustainable
Sustainability is at the heart of everything we do. Our products are made from resource-efficient raw materials, produced with social responsibility, and crafted with great care.

We’re curious
We want to try new things to make a positive difference. We approach our work with ease, even when things don’t go smoothly. Because in the end, and with a smile, everything will be all right.

We are honest
Yes, we want to do things properly and do them well. That’s why we address issues openly and are constantly working to improve.

We love the beautiful
We love beauty. And we love nature. In all its colors and forms. Beautiful design helps us open our eyes to it.